Monitoring Procedures
Why Monitor Your Rangeland?
Monitoring turns observations into measurable data to make informed decisions.
By collecting consistent field measurements over time, you can:
- Track vegetation changes
- Measure forage production
- Evaluate grazing management
- Document long-term trends
Good monitoring replaces assumptions with measurable data, helping evaluate trends over time and supporting sound grazing and land management decisions.
Where to Monitor?
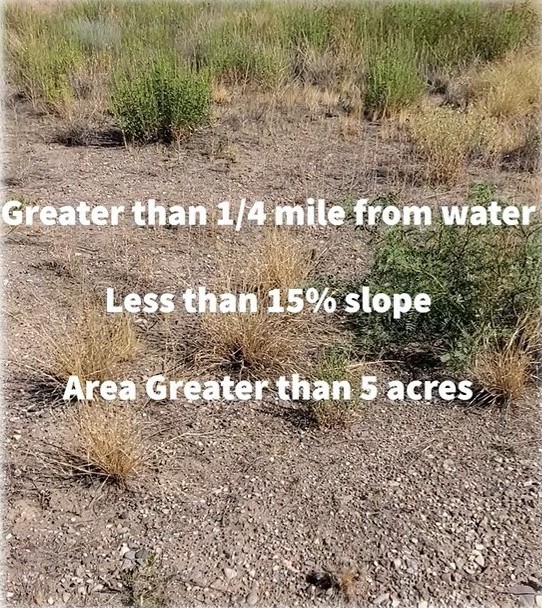
Select an area that best represents the overall pasture or management unit.
A monitoring site should represent the typical vegetation, soils, and grazing
conditions of the pasture.
Representative Site Checklist
- Reflects the overall pasture or management unit
- Area greater than 5 acres
- Slopes less than 15%
- Located ¼–1 mile from permanent water
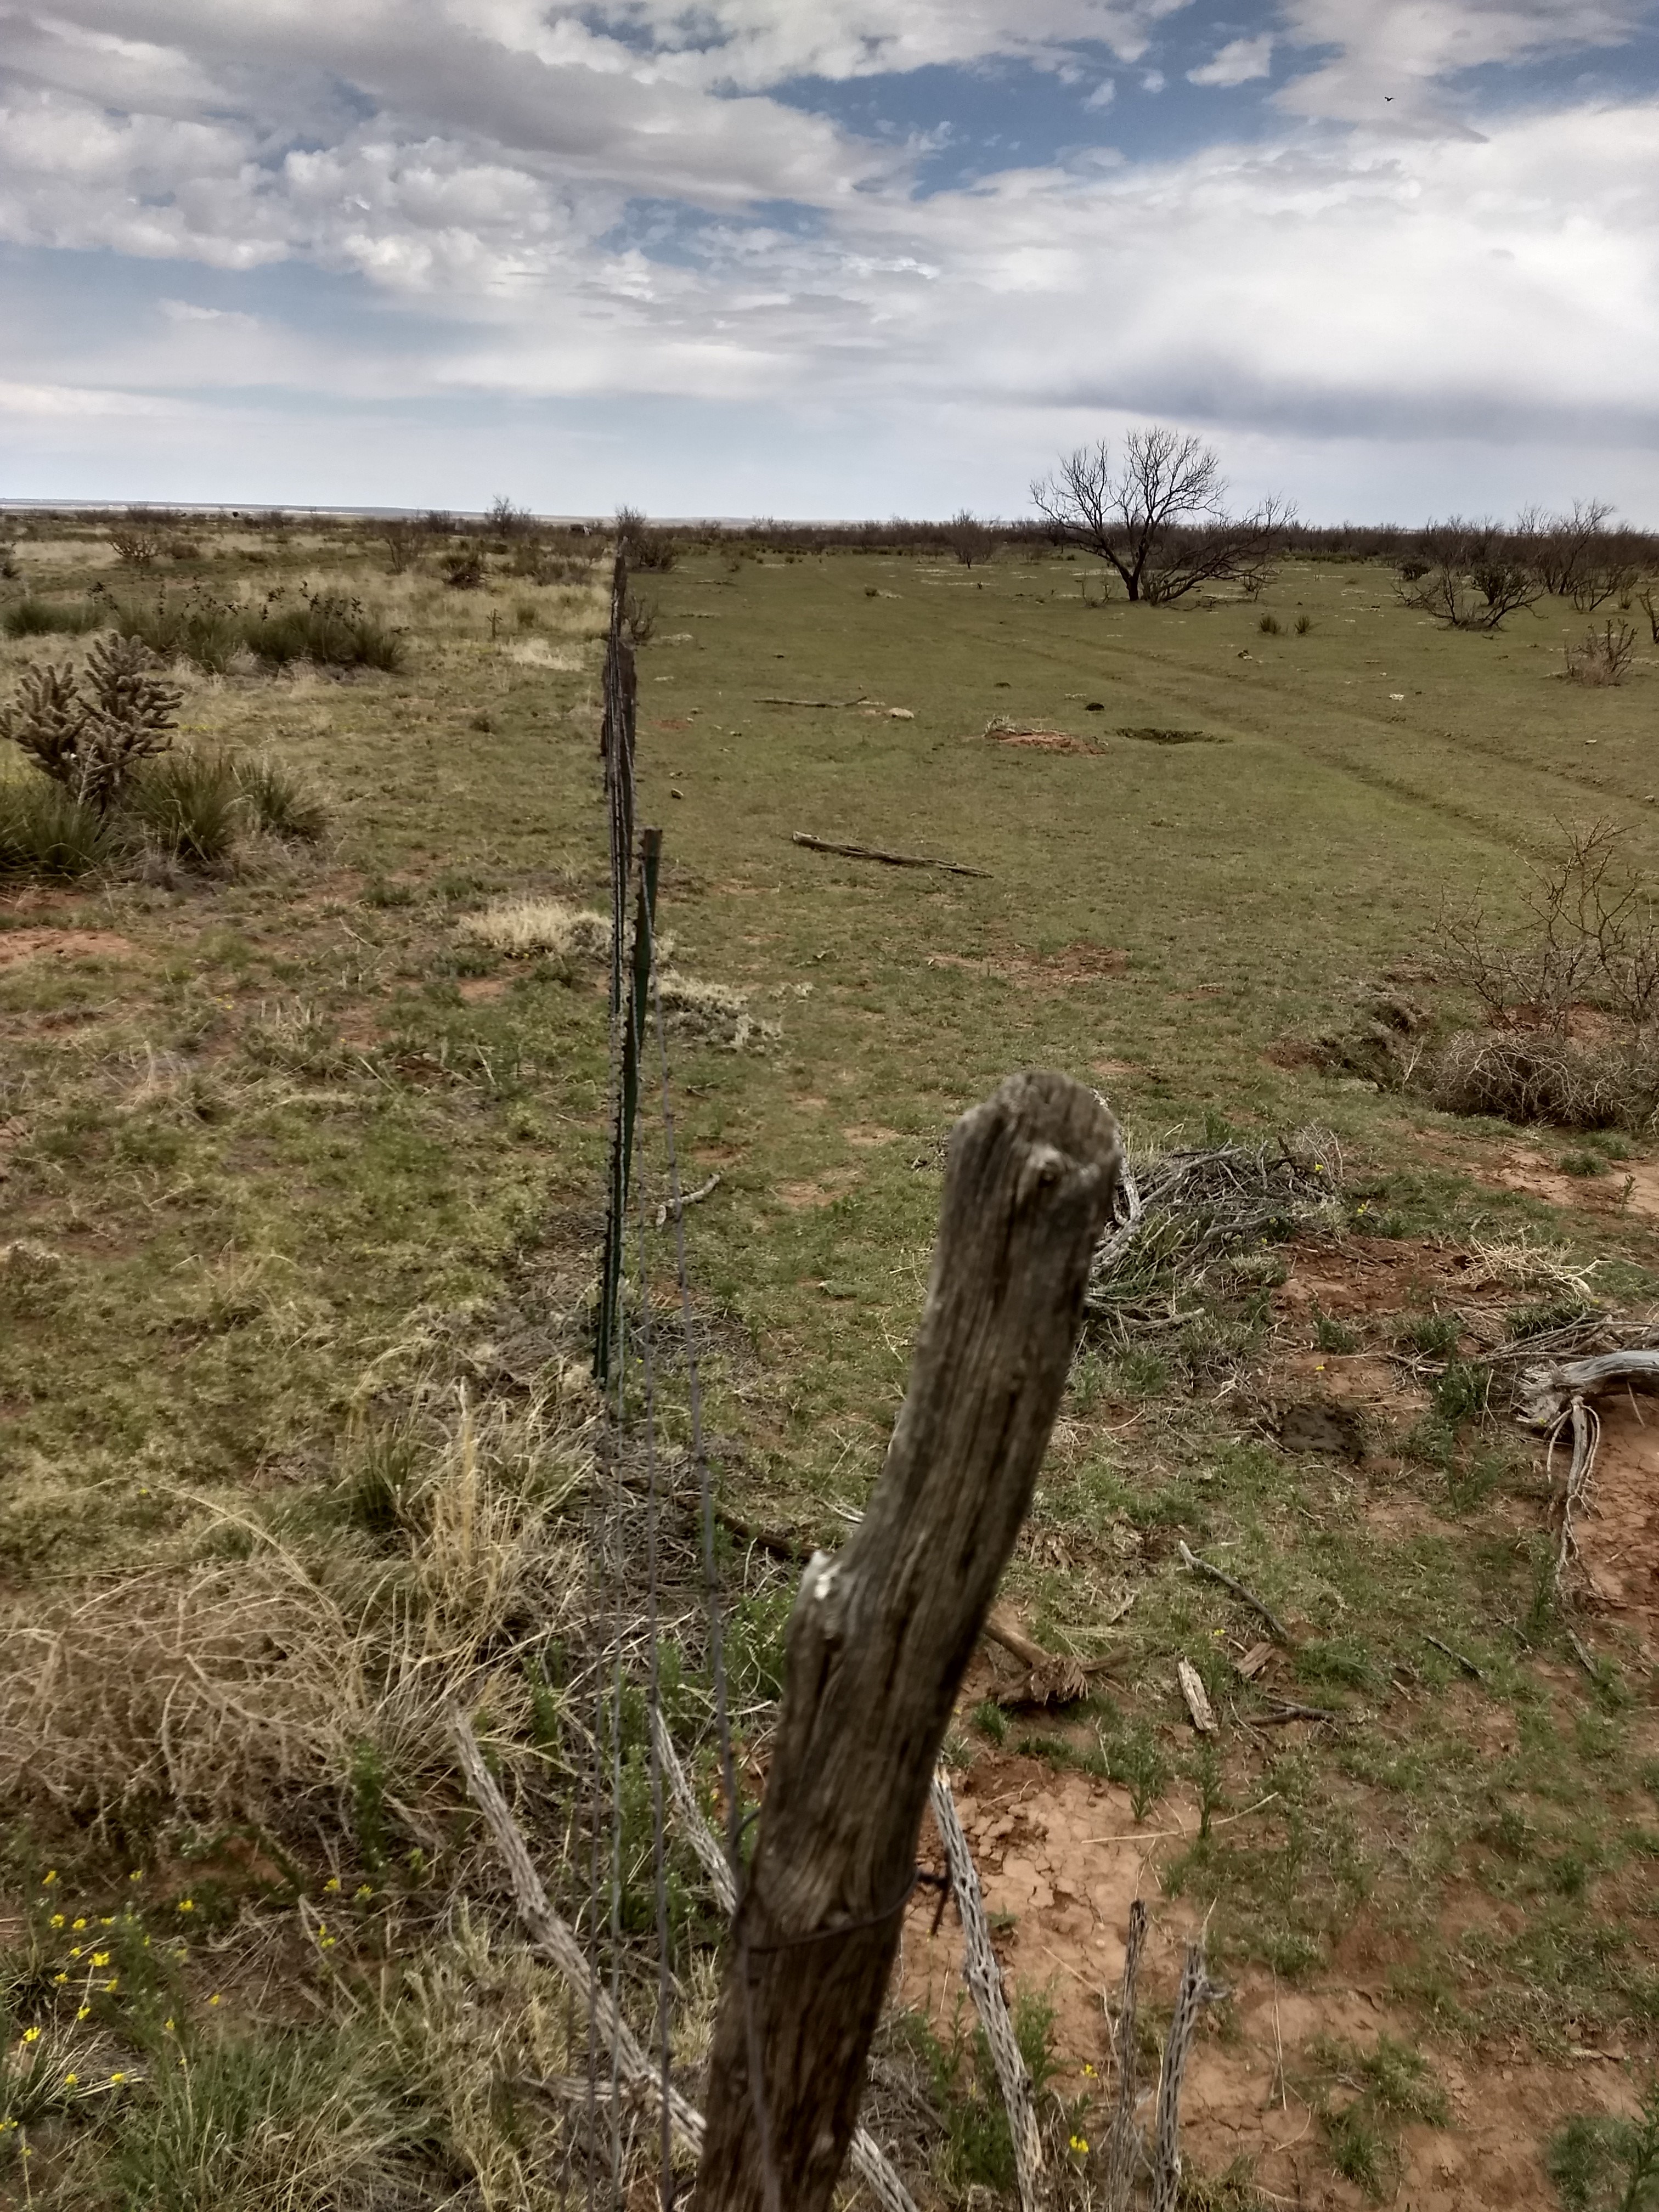
Do not establish monitoring sites near:
- roads
- fence lines, corrals, or gates
- mineral or supplement sites
- watering locations
- where animals naturally congregate.
If a pasture contains multiple vegetation communities,
soil types, or topographic features establish more than one
monitoring site. Averaging representative sites provides a more
accurate picture of overall pasture condition.
When to Monitor?
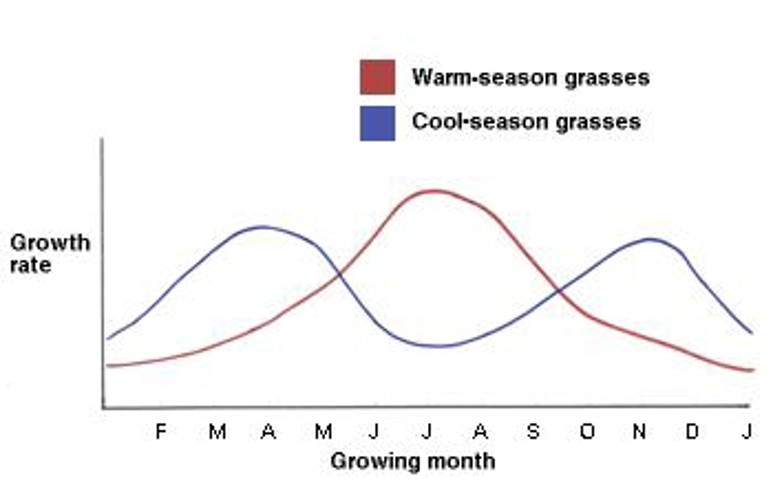
- In autumn at the conclusion of the growing season to estimate forage production and document grazing management outcomes.
- Repeat annually during same time period to create a baseline to estimate long-term trends.
- Additionally, any time of the year, to make adaptive or short-term management decisions.
What Method to Use?
RaDAR uses the Rapid Assessment Methodology (RAM), tailored for your management goals.
A method that balance accuracy, time, and effort.
- Estimate ground cover
- Determine species composition
- Evaluate grazing intensity
- Estimate forage use
- Calculate stocking rate
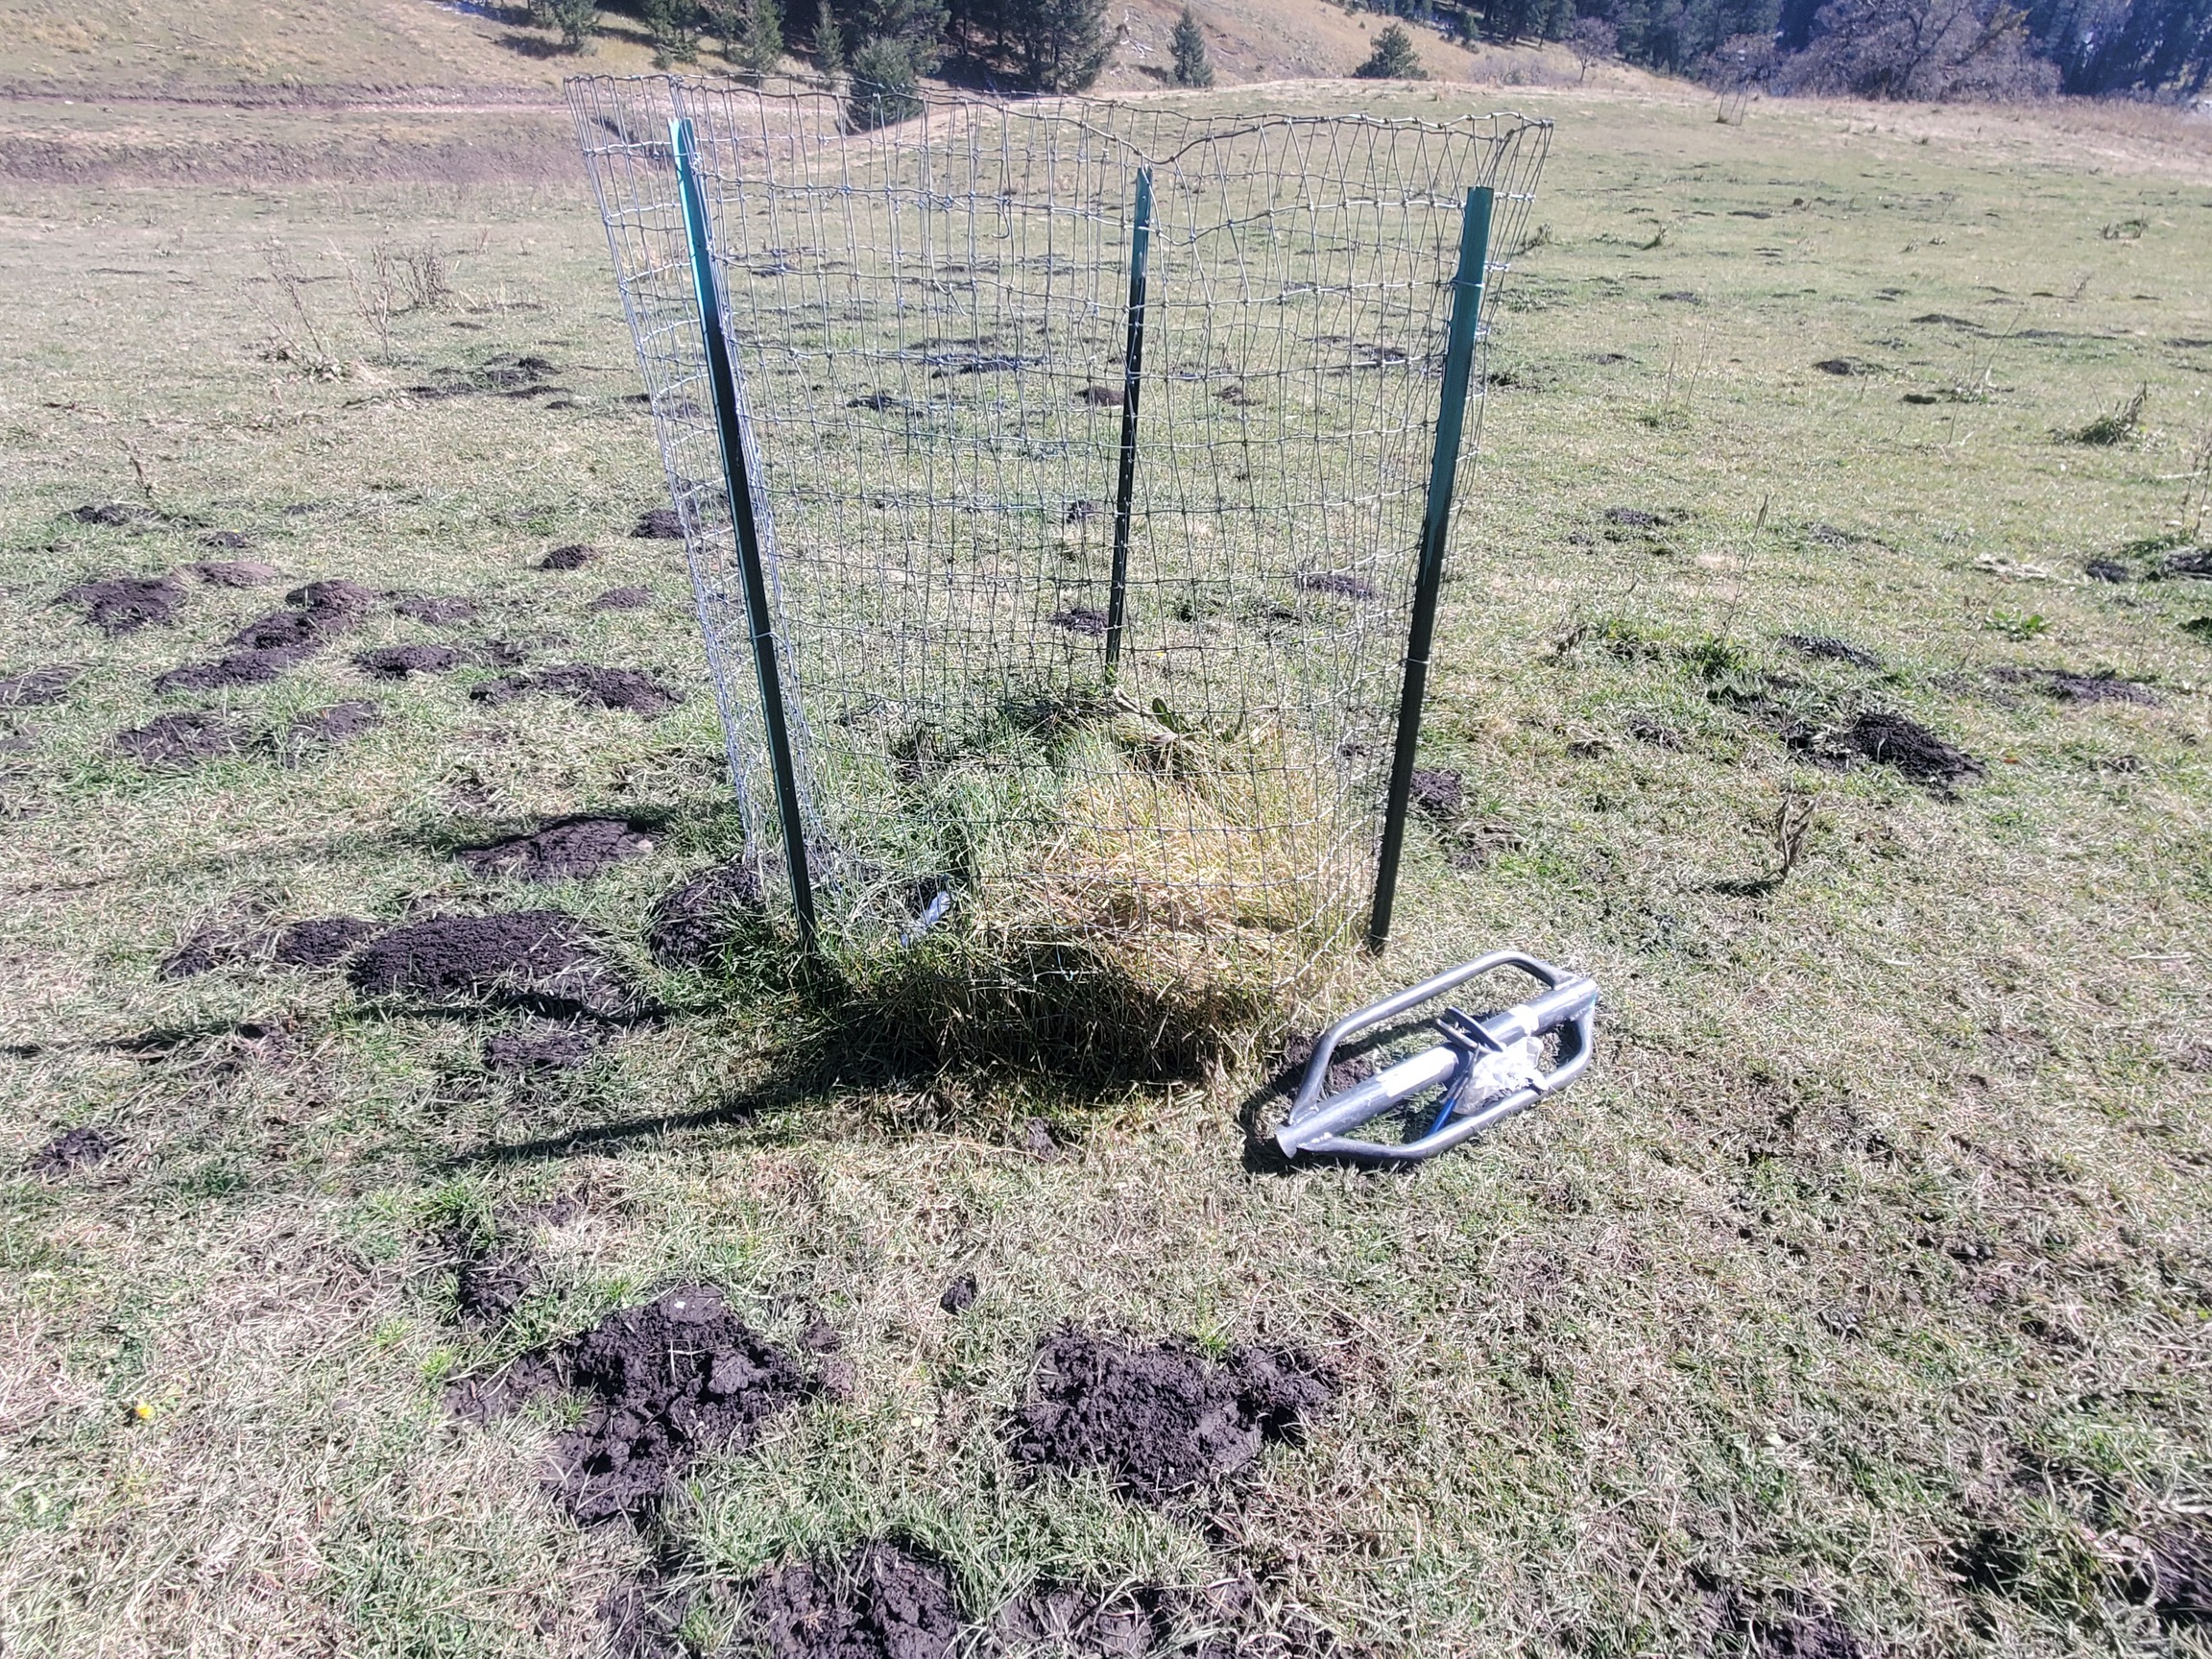
- Exclusion cage:
A structure used to keep livestock and wildlife from grazing; used to assess annual forage production. - Forage sampling hoop:
Circular hoop of known size used to sample forage clippings. - Growing season:
The portion of the year when plants are growing. - Key Area:
A portion of a range that represents the monitoring area or management objective. - Pellet group:
Animal fecal pellets or groupings that represent relative animal visitation. - Sampling bags:
Breathable, paper bags that allow for vegetation to dry without molding. - Standing crop:
The total amount of plant material outside exclusion cages. - Transect:
Path between two points where measurements are taken at specified intervals.
Field Equipment
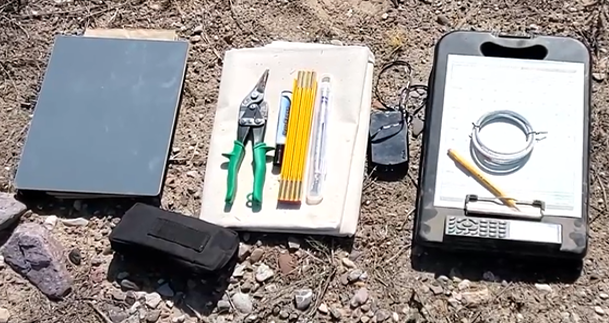
The right equipment makes field monitoring faster, more accurate, and more consistent.
Photo Documentation
- Dry erase board
- Dry erase marker
Measurement Tools
- 6 ft carpenter ruler
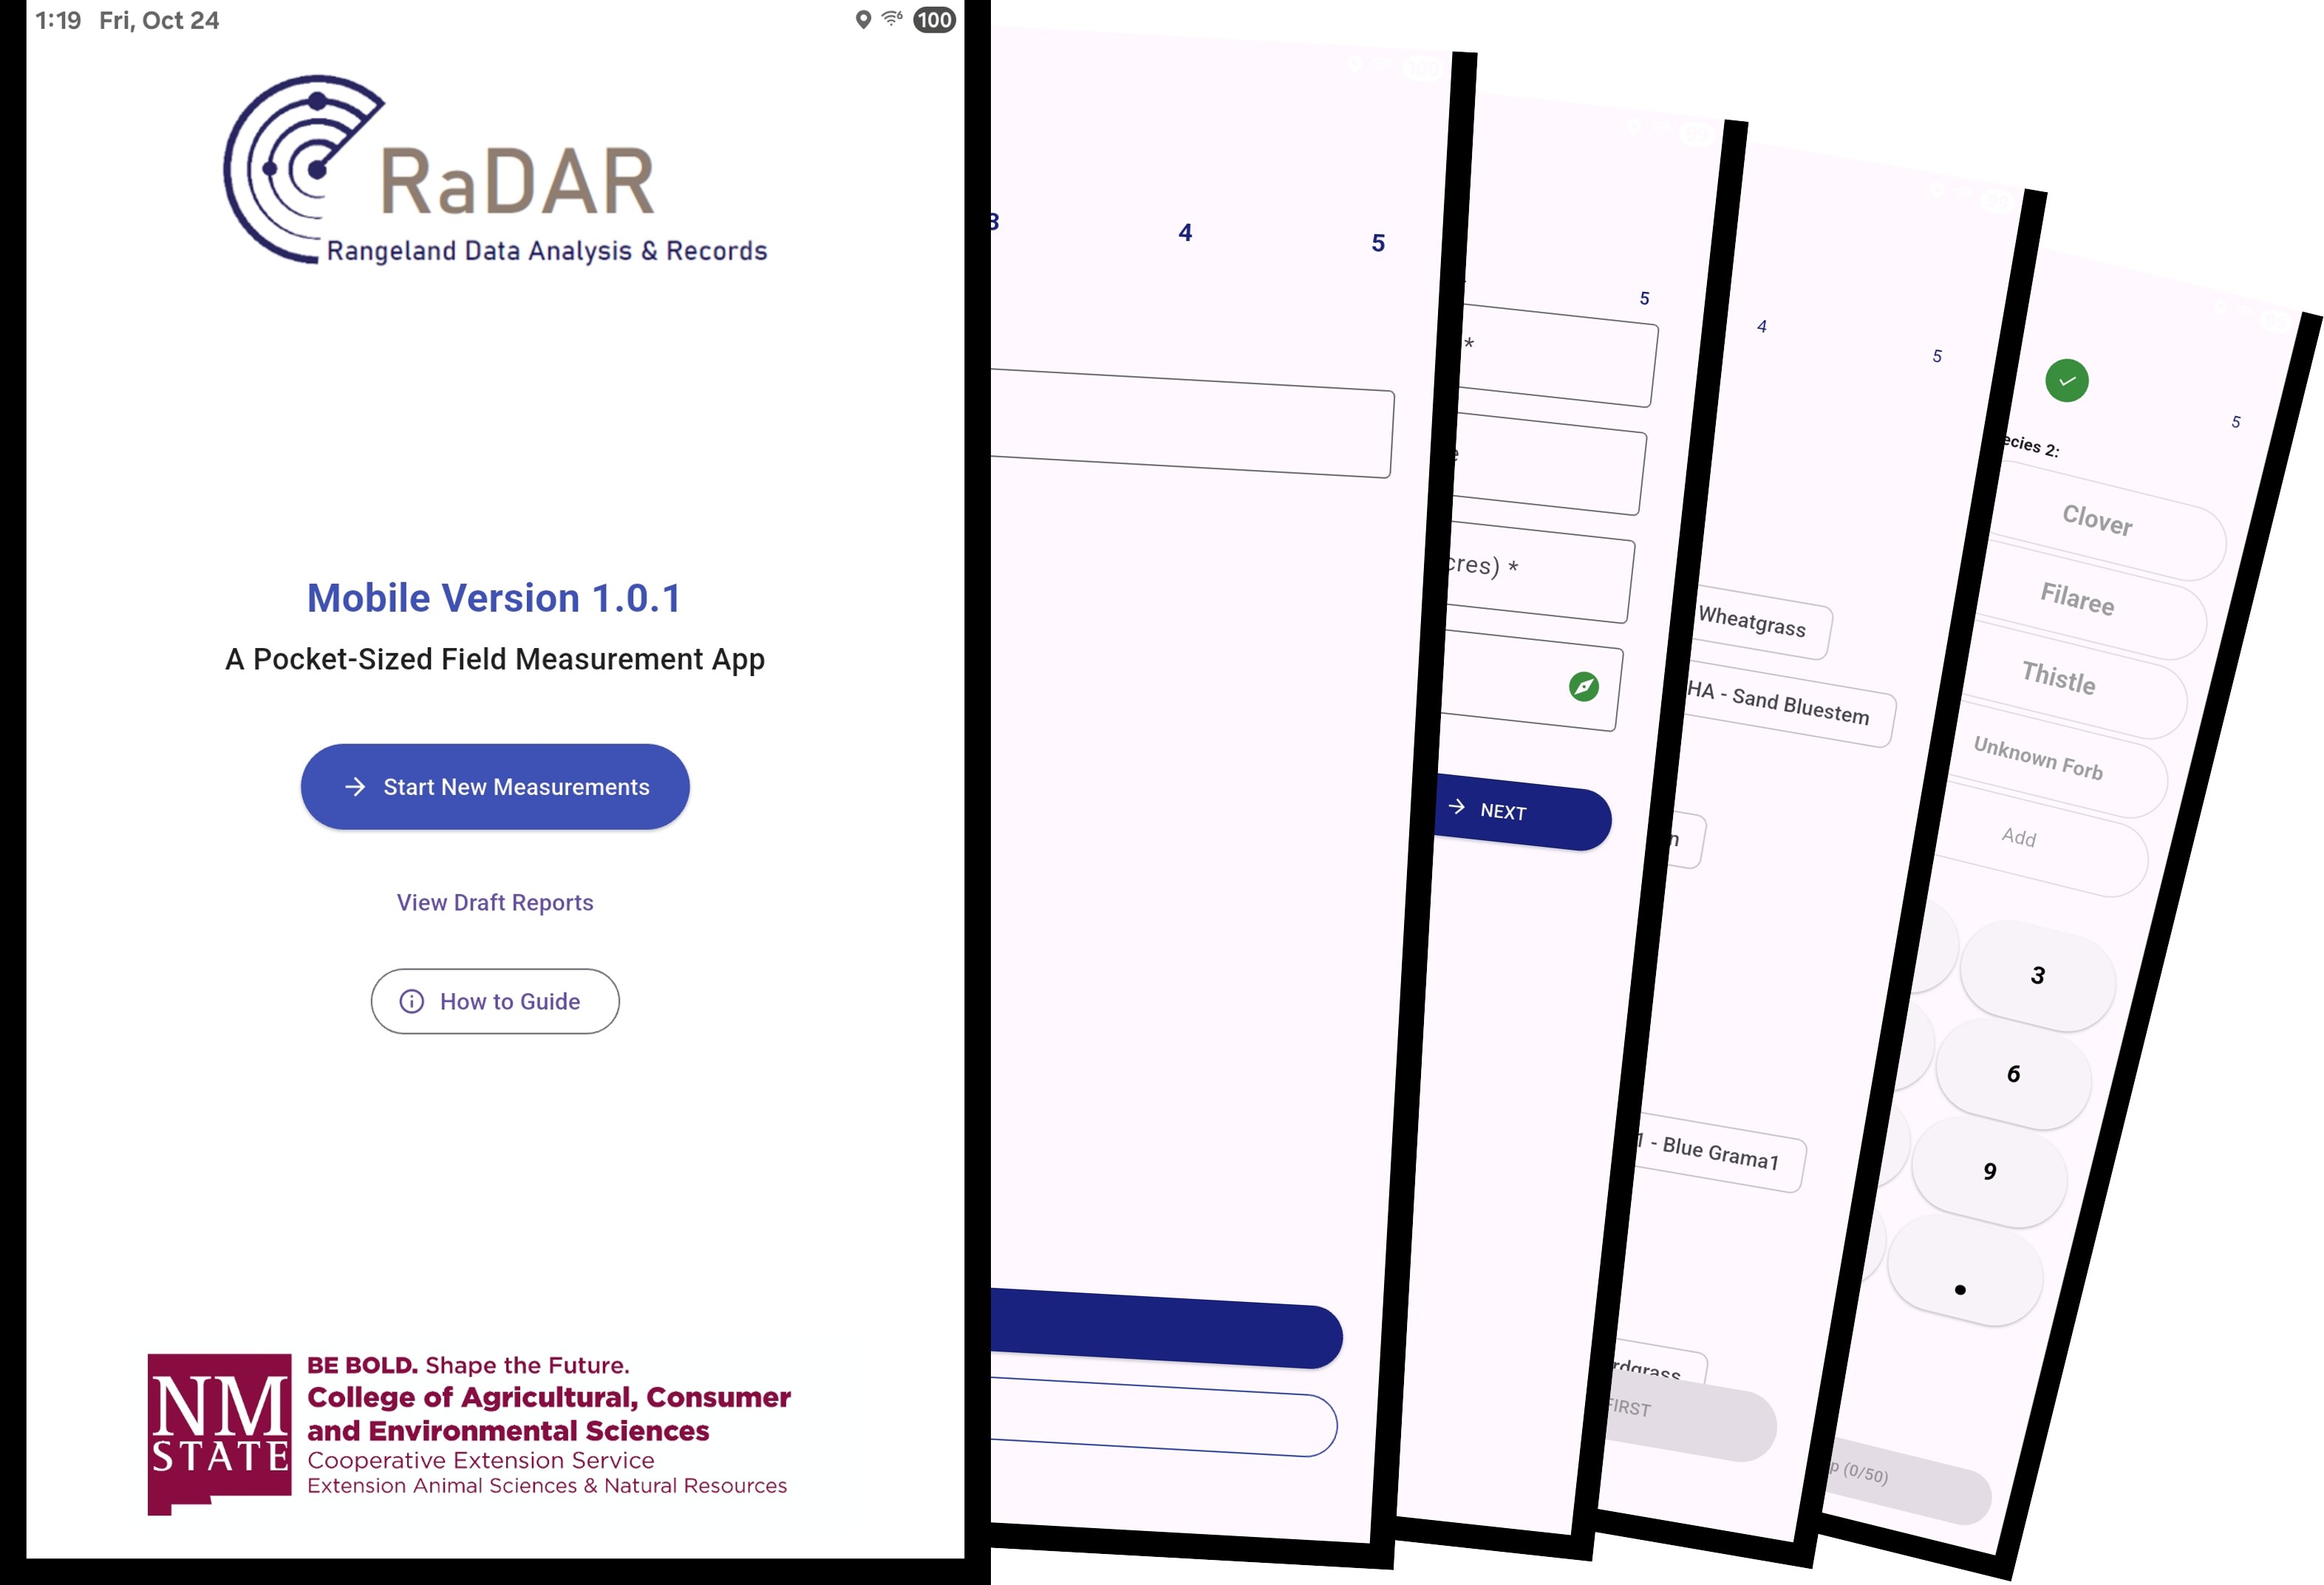
- Datasheet or RaDAR Mobile
- Pencils
Sampling Equipment
- Paper forage bags
- Grass clippers or scissors
- Sampling hoop or quadrant
- Sharpie or Marker
Before leaving for the field, verify that all equipment is working properly and that batteries are fully charged. A quick equipment check can prevent lost data and unnecessary return trips.
Monitoring Data Collection Steps
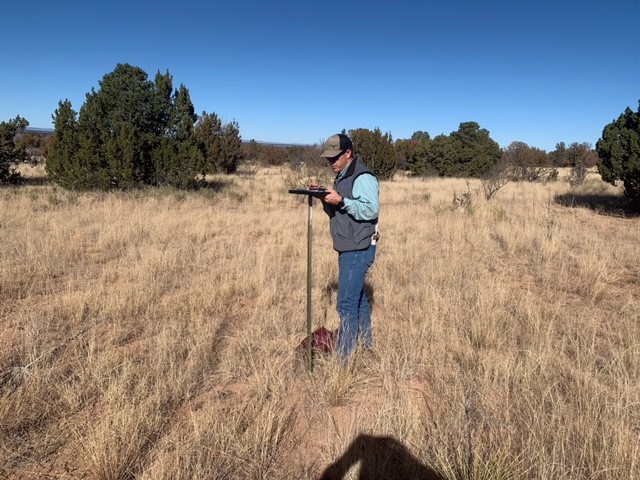
- Mark transect starting point with a t-post (or something similar) and record location coordinates on datasheet (see Appendix A) from a global positioning system (GPS).
- Record cardinal direction or compass heading of transect on datasheet.
- Record information that provides distinct monitoring identity on datasheet.
- Ranch or allotment name.
- Pasture name.
- Date (including year).
- Transect number.
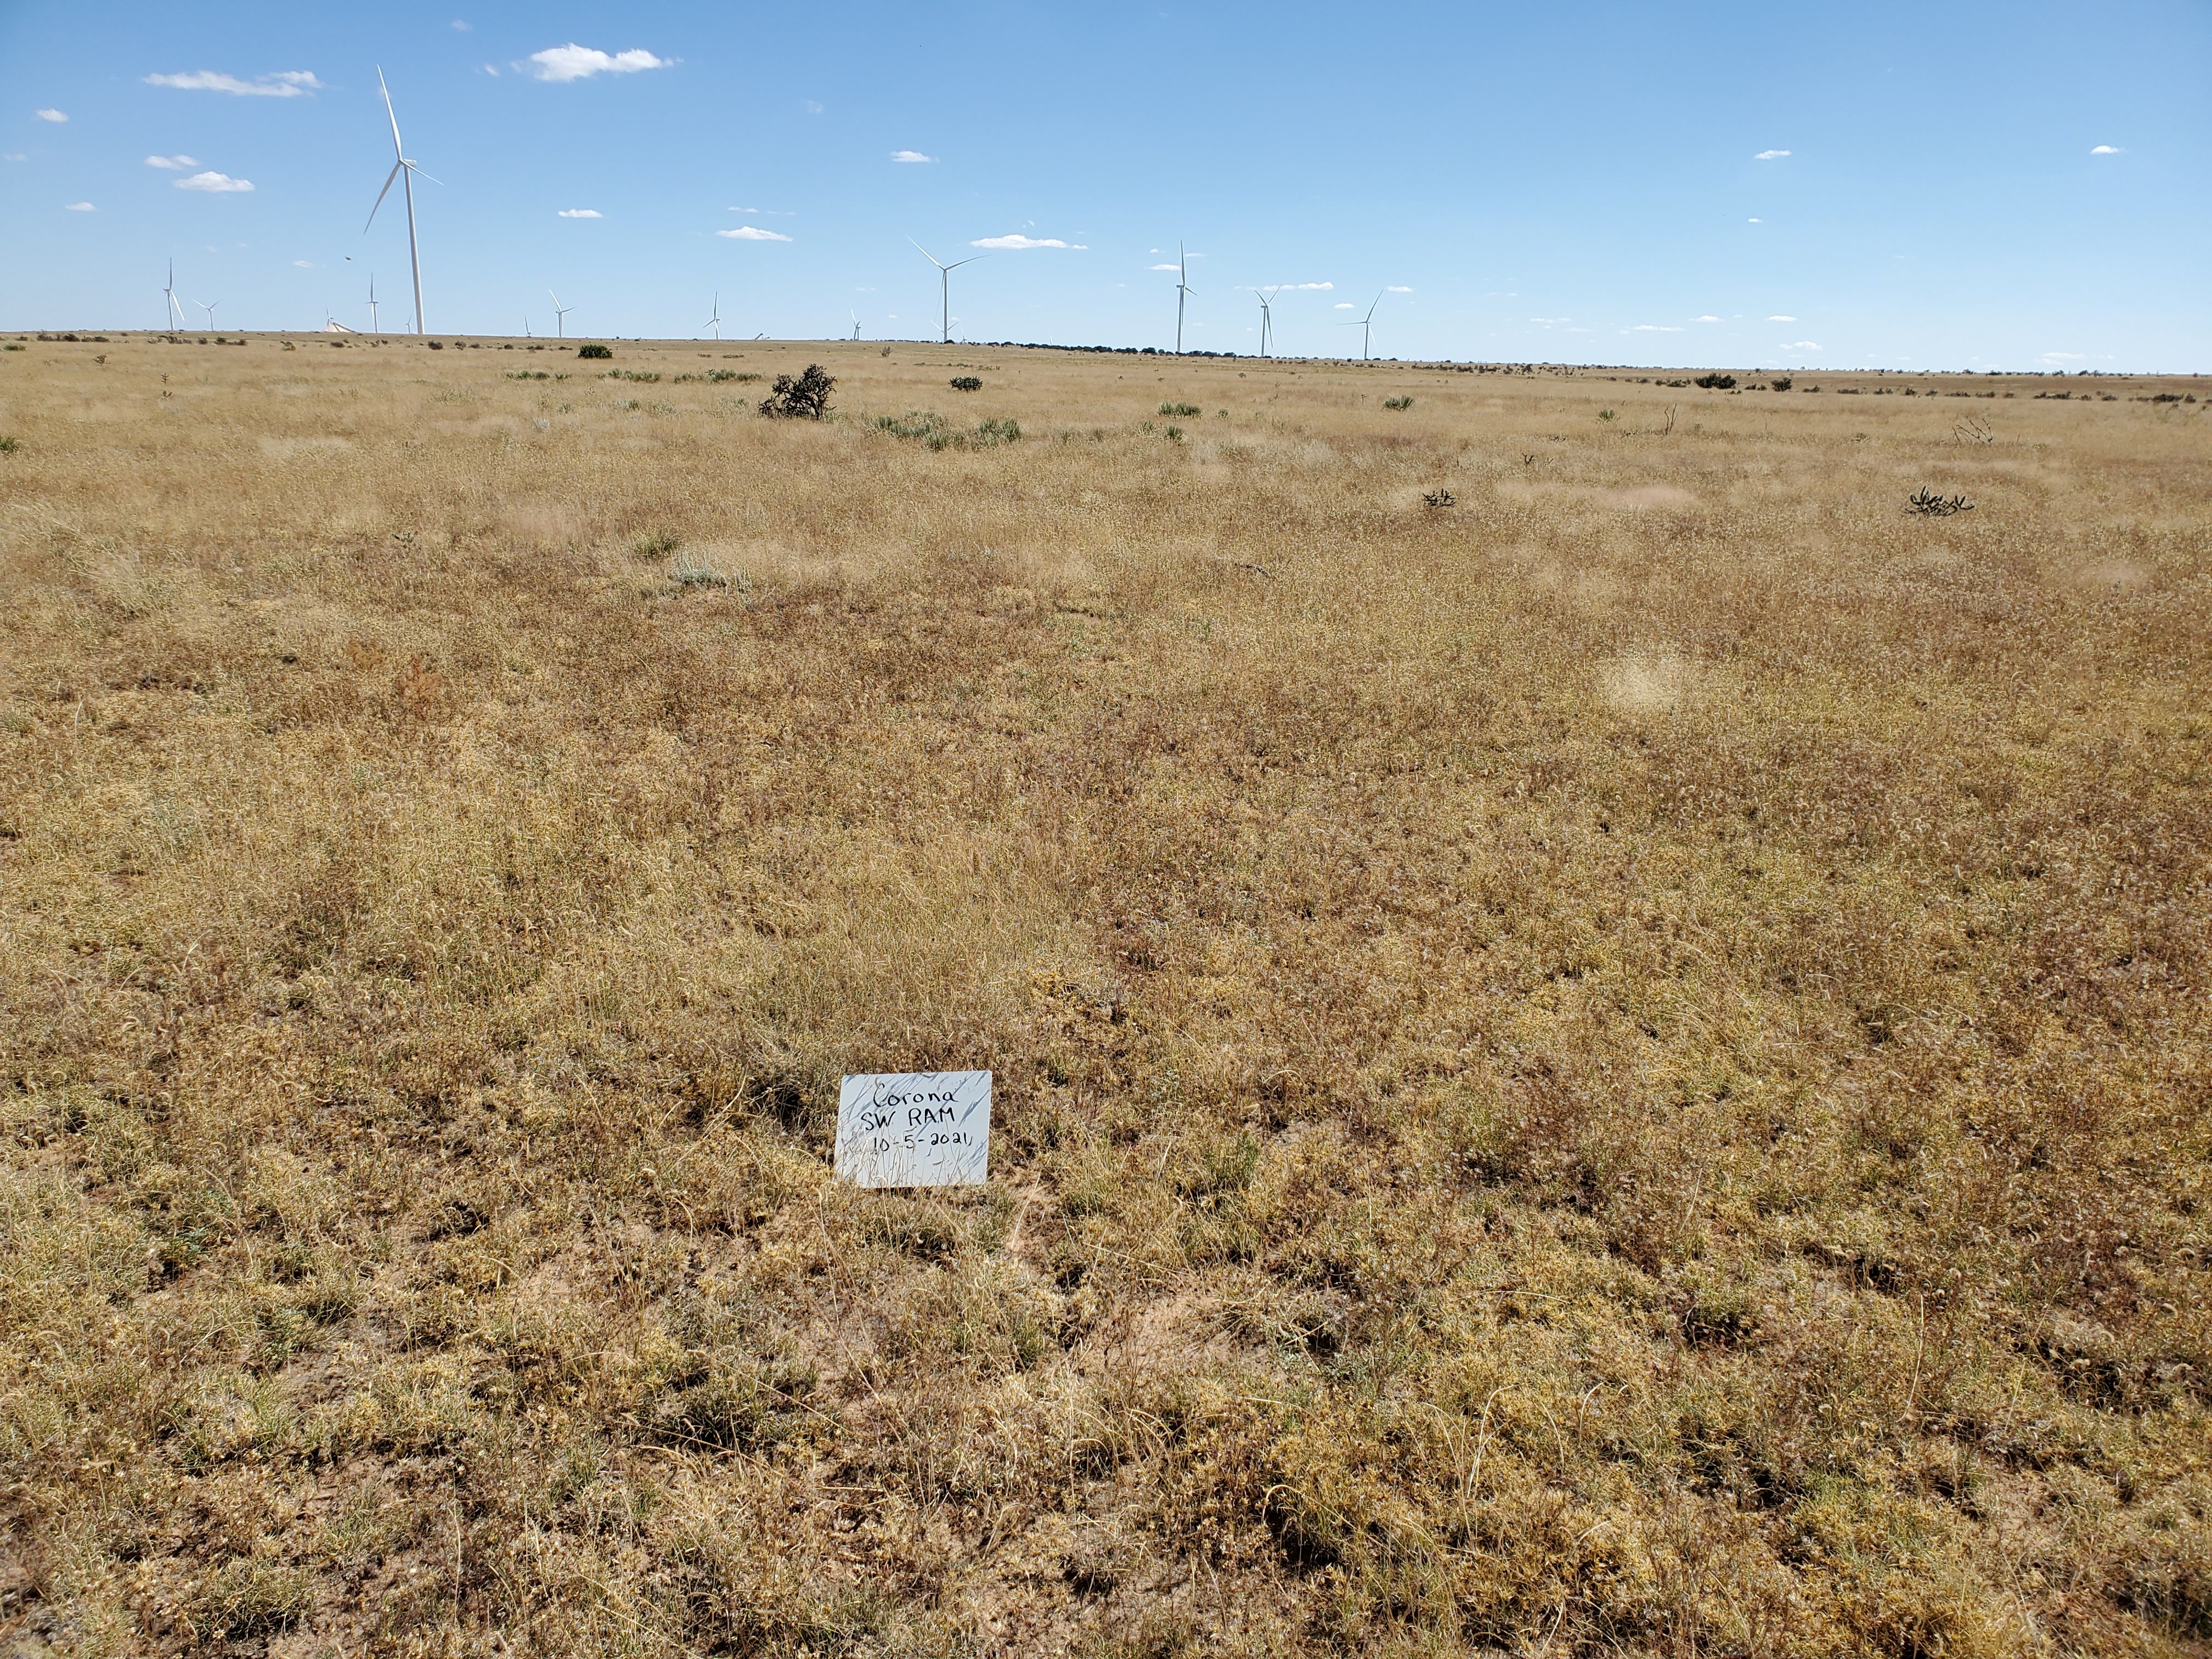
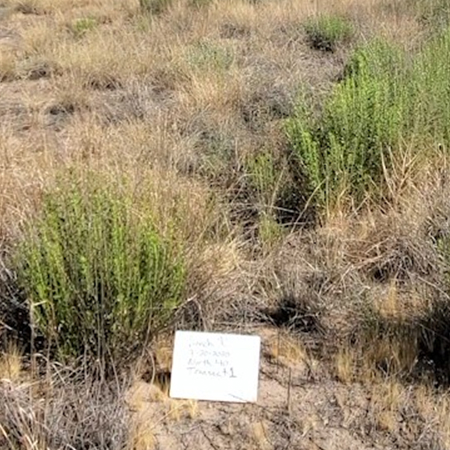
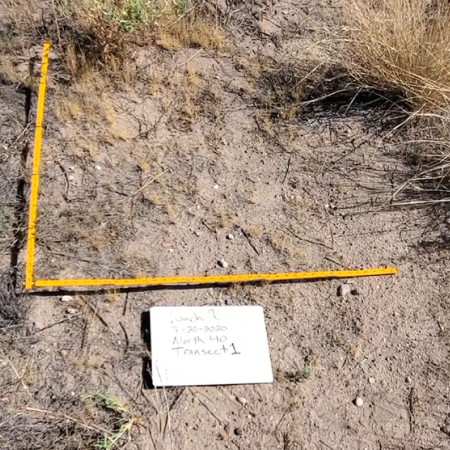
- Take photo-points (Fig. 1-2).
- Use a whiteboard to display specific information (e.g., date, pasture, transect number, heading, etc.)
- Take landscape photo (with whiteboard) in the direction of transect. Include a landmark (i.e., rock, hill, or outcrop) in the photo so the same photo location can be used each year.
- Take ground-level photo on transect at least 10 feet from starting point (with whiteboard and ruler).
- Mark point of preferred boot for the step-point transect assessment.
- Record monitoring data at every pace (i.e., two steps; usually about five feet in distance) as determined by the fall of the marked boot tip (also called a “hit” point); repeat for 100 points; do not look down when pacing to avoid selection bias.
- Record ground cover classification at each hit.
- V for vegetation
- L for litter
- R for rock.
- B for bare ground/soil.
- Record plant species by common name or abbreviation.
- For a grass vegetation hit, record grass species.
- For non-vegetation hit, record nearest grass species.
- For non-grass vegetation hit, record non-grass species and nearest grass species.
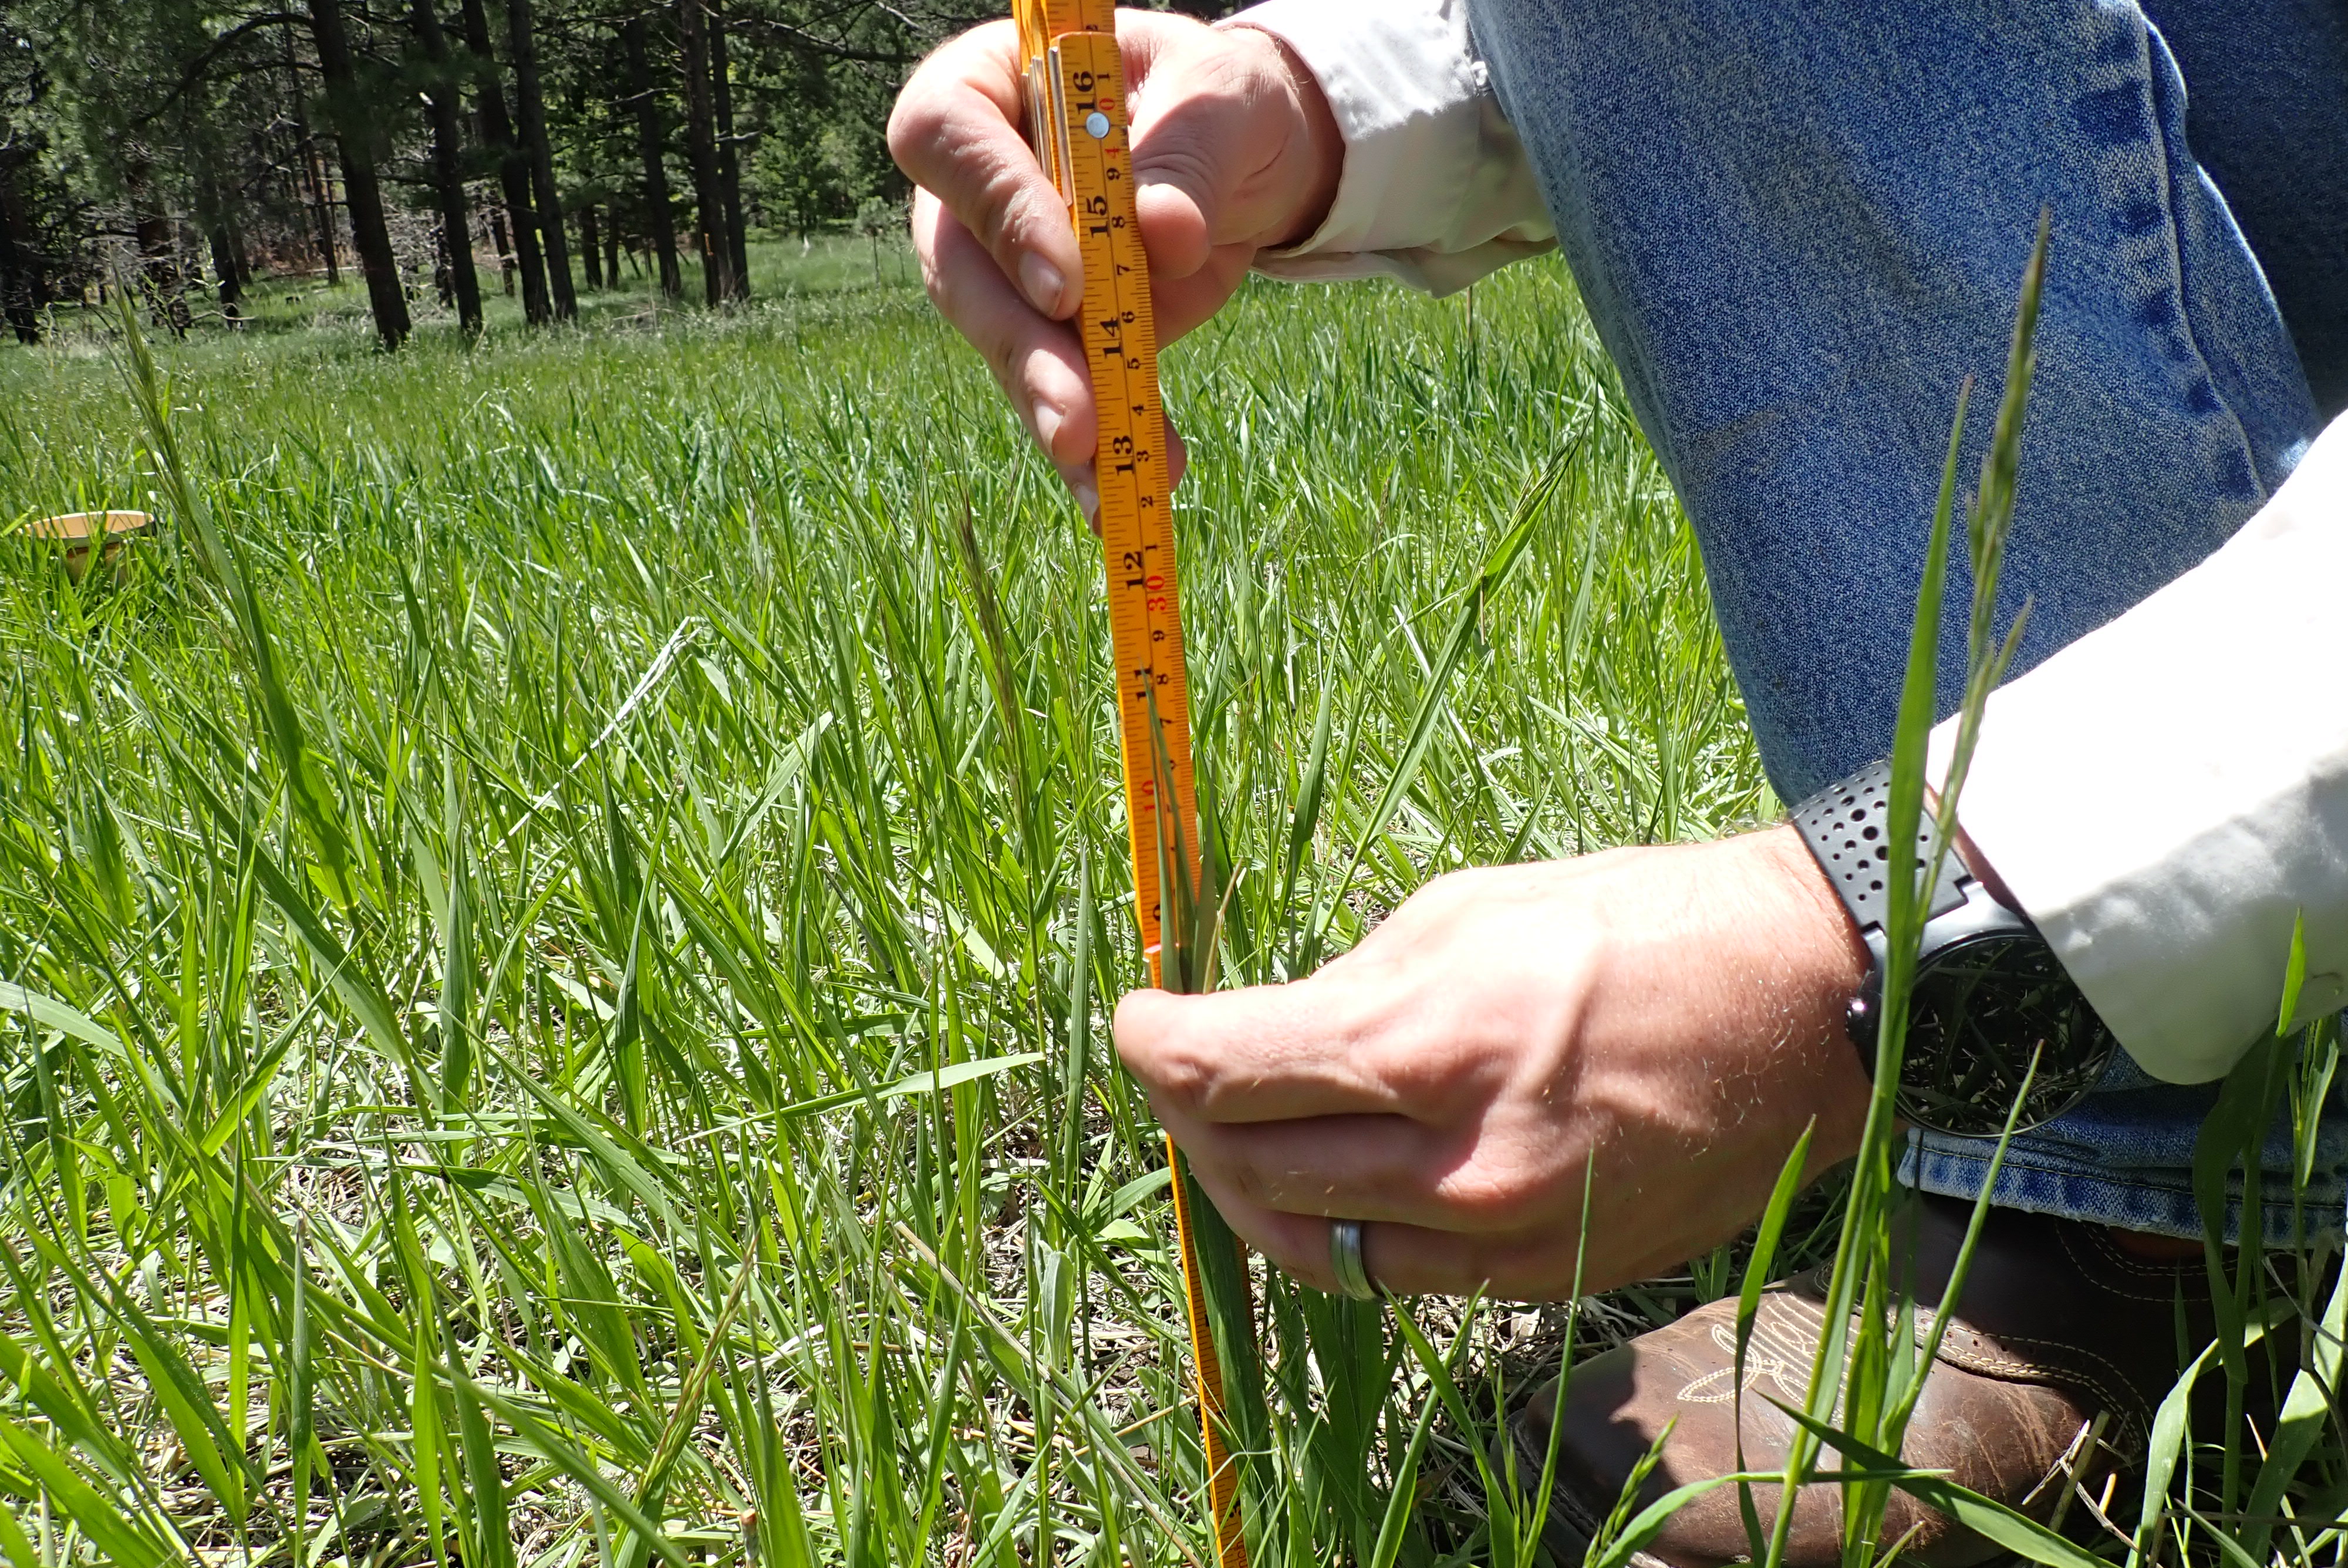
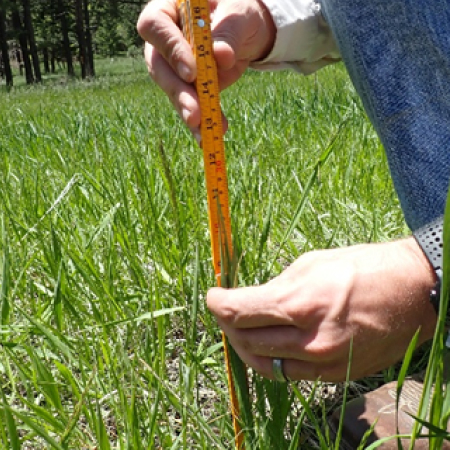
- Record stubble height of grass species (Fig. 3).
- Using a ruler, measure vertical leaf length from stem base to the nearest half inch of average leaf length of the majority of leaf blades. For plants less than two inches, record length to the nearest quarter inch.
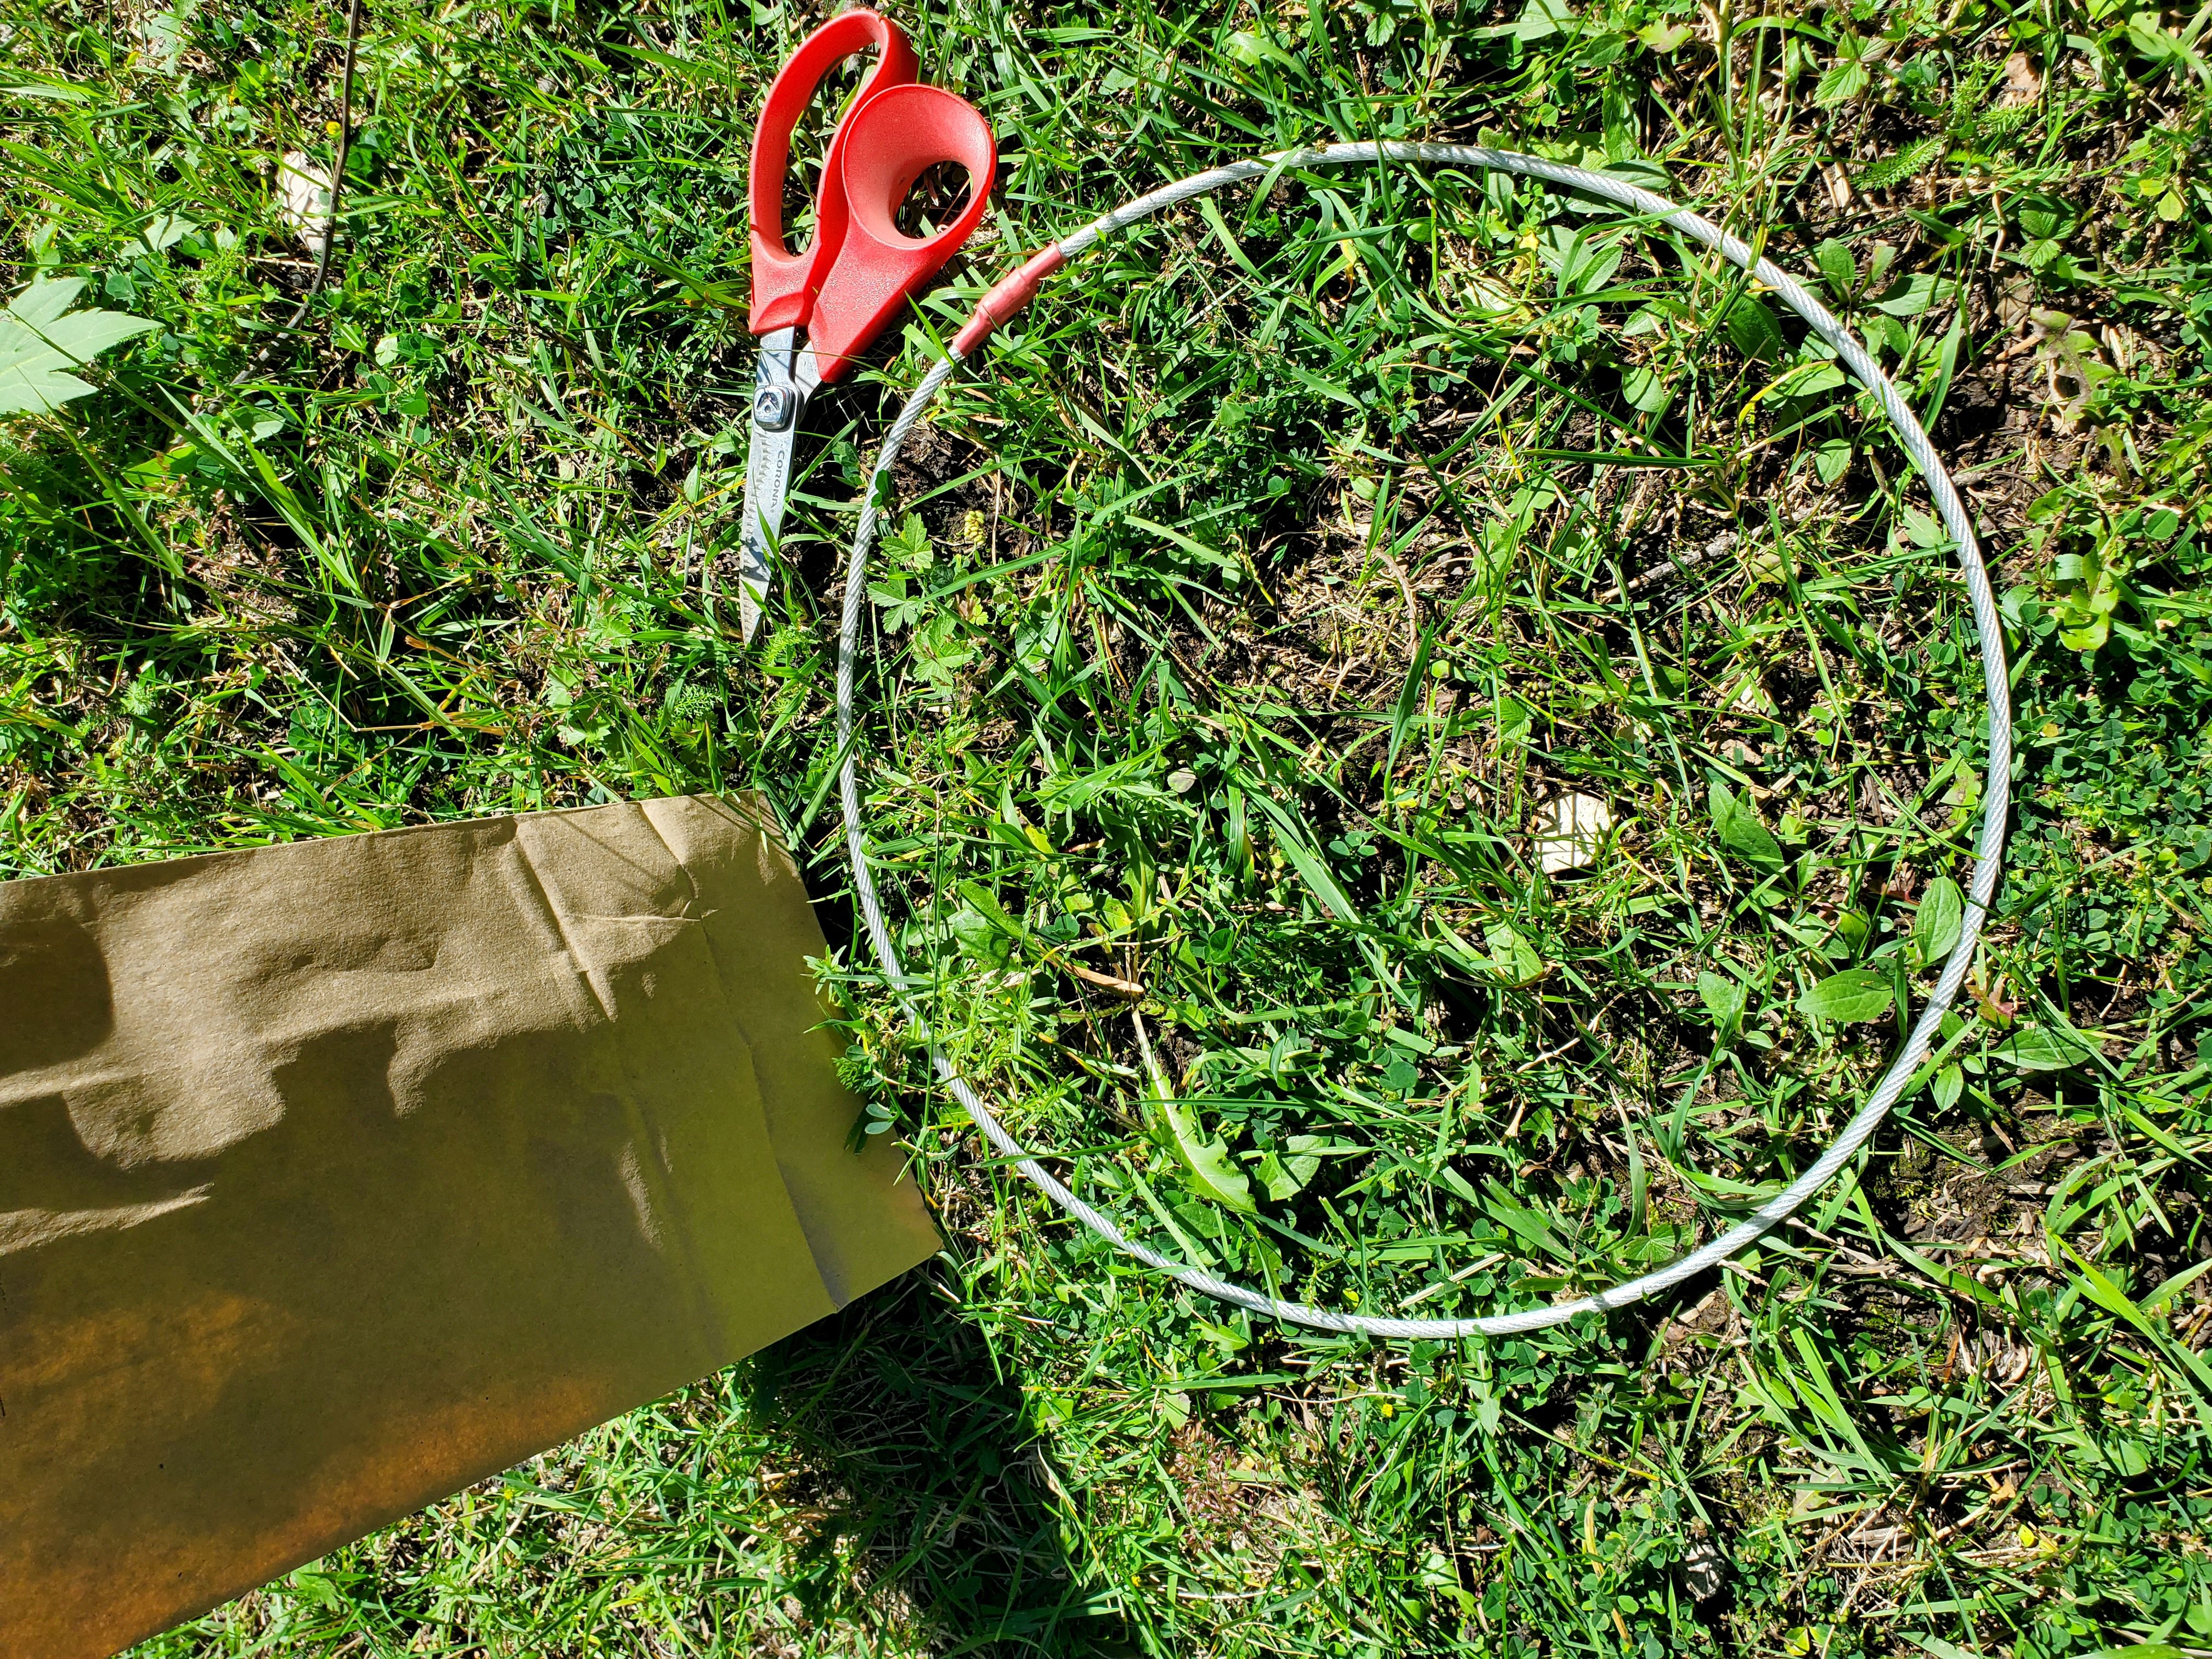
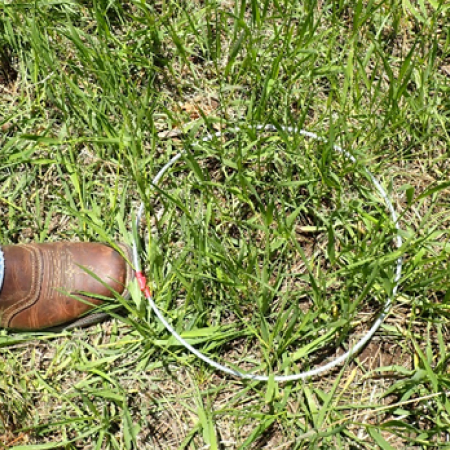
- Collect a standing crop sample at every 20th hit for five total samples (Fig. 4).
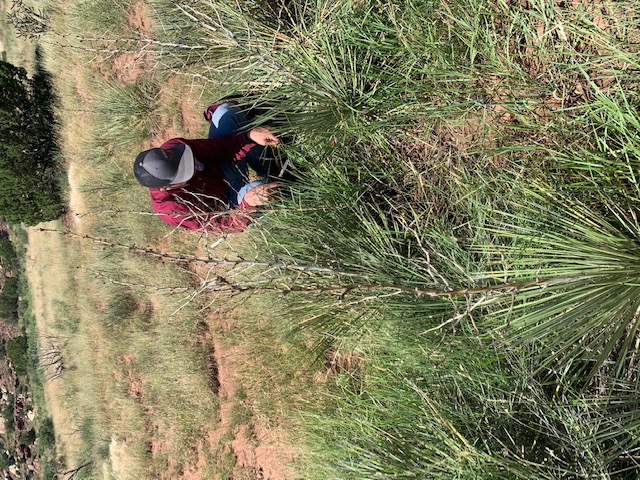
- After recording data (a-c) place a sampling hoop (or quadrant) at tip of boot.
- Clip all livestock forage (i.e., grass) within hoop to ground level.
- Place clipped forage in labeled sampling bag (include date, pasture, transect, and sample number)
- Record ground cover classification at each hit.
- Walk back to transect starting point recording animal fecal droppings/pellet groups (dot tally) using a six-foot belt transect approach (i.e., three-feet on either side of transect); remove, destroy, or mark pellets with spray paint so as not to re-sample in subsequent monitoring.
- Dig a 12-inch soil pit adjacent to transect starting point and record depth of soil moisture in inches.
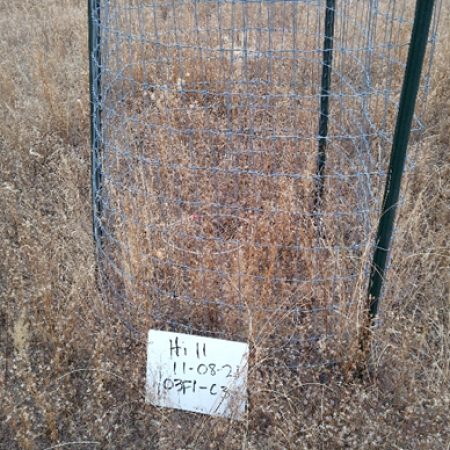
- Sample a minimum of three grazing exclusion cages (Fig. 5).
- Place sampling hoop in the center of each cage.
- Clip all grass forage within the hoop to the plant crown and place in labeled sampling bag.
- Move cage at least 30-feet from current location for subsequent sampling year.
- Dry standing crop and exclusion cage forage samples.
- Use a low temperature (less than 140° F) drying oven and dry bags for 24 hours.
- Alternatively, place bags on vehicle dashboard in direct sunlight until forage is completely dry (~48 hours).
- Determine forage sample mass; weigh sample plus bag, subtract bag mass, record sample mass in grams for each clipping or sample.
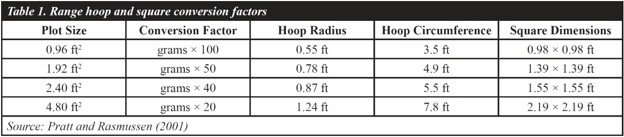
- Find the conversion factor (Table 1) from sample hoop size used to convert grams of collected sample to pounds of forage per acre; record conversion factor on datasheet.
- To estimate standing crop from dried forage samples, add all transect samples together, if not already combined, and divide by five. The same is done for exclusion cage samples but dividing by three. Multiply the resulting quotient by the appropriate conversion factor (Table 1; e.g., for a 0.96 ft2 sampling hoop the conversion coefficient is 100).
Tables